Enabling Scheduled Agents
Enable scheduled agents.
To Enable Scheduled Agents
- Select the Build or Promotion Path that relates to the database or template for which you want to enable scheduled agents
- Click the Create action button and select Enable Agents. The Enable Agents document appears.
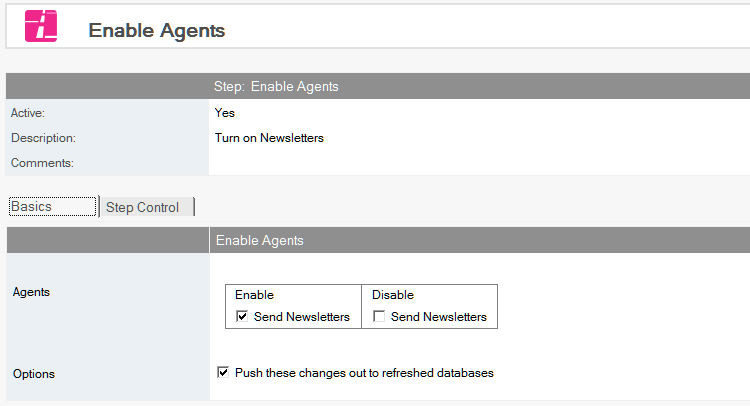
- The Enable Scheduled Agents document is active by default. Leave this setting.
- Enter a descriptive name in the Description field. All scheduled or event-triggered agents in the source database appear in a table.
- Check each agent you want enabled or disabled for the target database.
- Check the Push these changes out to refreshed databases option if you want to force an update of the enable/disable state during a design refresh.
Save and close.
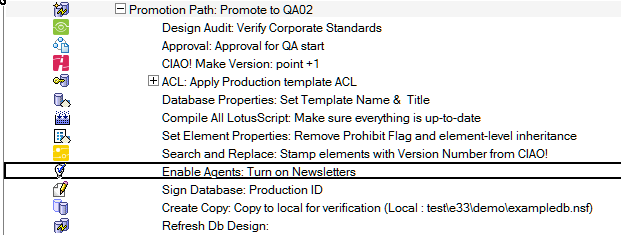
The new Enable Scheduled Agents entry appears in the right pane, under the Build or Promotion Path to which it applies.